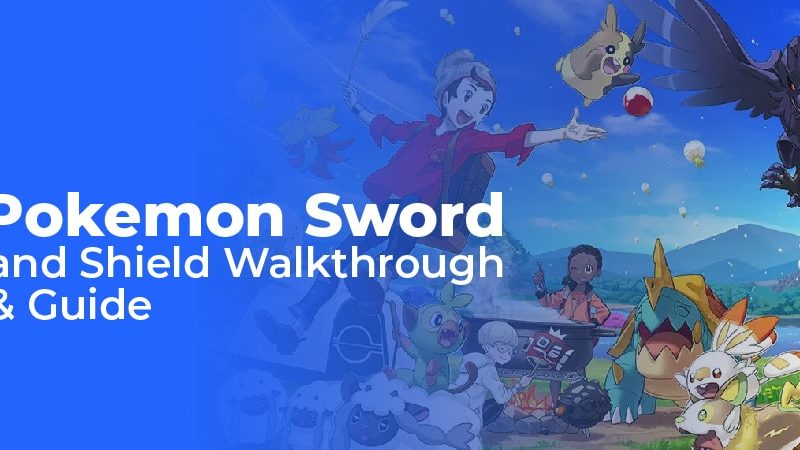
SheeVenath Shrine – The Legend of Zelda: Breath of the Wild
There are more than a few sheevenath shrine in The Legend of Zelda: Breath of the Wild that stand out, showcasing unique ideas that delight and occasionally perplex players. SheeVaneer and SheeVenath – both entitled ‘Twin Memories’ – are fantastic examples of this, playing with your expectations of where the solution to a shrine can be found.
Here we outline where to find both shrines, explain how to solve them, help you locate their treasure chests, and describe the solution.
Walkthrough
The Twin Memories title of this shrine, as well as the initial pedestal, gives you a clue on how to solve this puzzle. Located on the Southern Peak of the Dueling Peaks, this shrine is a twin of the SheeVaneeer Shrine.
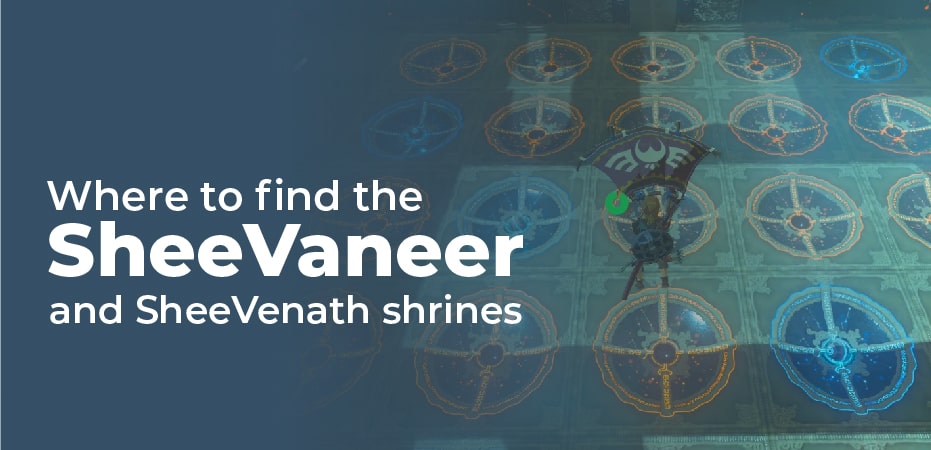
There are five balls to place in each shrine, and each shrine has a five-by-five grid. It’s essential you have entered SheeVaneeer Shrine before solving this puzzle. The initial order of where the balls are located from the other shrine must be memorized. When you return to this shrine, arrange the balls in that specific order to solve the puzzle.
The locked door appears at the top of the puzzle when viewed from below. There are five rows of balls, and each row holds one ball. The following columns are shown for each row: 2 – 4 – 1 – 3 – 5.
There is one on the treasure chest to collect. The moving platform will allow you to gain a higher vantage point. Leap off and turn to the right. You will find the treasure chest right around the corner. Ascend the ladder to speak with SheeVenath, the monk. You will receive a Spirit Orb from him.
Where to find the SheeVaneer and SheeVenath shrines
SheeVaneer and SheeVenath are located more or less at the summits of Dueling Peaks, and they are typically among the first shrines players encounter after leaving the Great Plateau. It is along the route to the early ‘Seek OutImpa’ quest objective, and the northernmost of the pair – SheeVenath – can be seen fairly clearly from various hills and pillars when traveling east from the Great Plateau.
While scaling the steep inclines on the way to either summit requires patience, some players may want to wait until they have more stamina, or load up on stamina-boosting meals, such as the Enduring Mushroom Skewer.
Although the most obvious route might be to climb near the river and the Dueling Peaks Tower, you might find it easier to climb if you head north or south towards the gentler slopes from these approaches.
- SheeVenath is on the northern peak: it’s tucked away in an indent directly below – use your glider to reach it.
- SheeVaneer is at the southern peak. As you approach this side of the mountain, you will need to wear some cold-resistant gear
You’ll also find a few Korok Seed puzzles at both summits – so be sure to pick them up.
Solving SheeVaneer and SheeVenath shrines
When you enter either shrine, you’ll find a stone tablet with a mildly cryptic message.
The shrines atop these peaks share a connection – their memories are the answers to one another’s questions.
Remember before you start, lest you depart with a failure.
Aside from this, you will find:
- In a five by five grid, five orbs are positioned in specific sockets
- The platform moves to give you a vantage point above the orbs
- The door that leads to the monk (and to that sweet orb of spirit) is closed
The message indicates that the initial position of each orb in the five-by-five grid of sockets will open the gate at the other shrine.
In order to solve both shrines, it is simply a matter of:
- Visiting the first shrine to see where the orbs were initially positioned
- In order to match the first shrine’s pattern, move the orbs to the second shrine.
- Observing the pattern in the second shrine and placing the orbs in the first shrine
Are there any orbs that seem to be out of position? You shouldn’t worry about the orbs resetting if you enter and leave the shrine.
Taking note of their positions will be as easy as taking a screenshot (easiest from the vantage point of the moving platform), or grabbing a piece of paper and drawing/writing down the solution in whatever format makes sense to you.
You can find the solution to both shrines in the “SheeVaneer and SheeVenath shrine solution” section below if you’re still stumped.
The treasure chests of SheeVaneer and SheeVenath are where?
Both SheeVaneer and SheeVenath have a simple additional puzzle: a chest containing useful loot.
In keeping with the ‘Twin Memories’ theme, each chest is hidden in essentially the same spot: if you ride the moving platform up to the observation platform, you may notice an opening behind the wall closest to it (as you can see in the screenshot).
Jumping, deploying your glider, and doing a leisurely U-Turn as you descend will get you to the ledge and the treasure chest.
SheeVaneer and SheeVenath shrine solution
Can’t stand the thought of flitting back and forth between the two shrines? Did you spill coffee on your carefully taken notes? Below is a screenshot and explanation of the solution:
SheeVaneer Solution (southern peak shrine)
The orbs for SheeVaneer need to be placed in the following sockets, top to bottom (i.e. the gate should be at the top and the observation platform at the bottom):
- 5
- 1
- 2
- 4
- 2
SheeVenath Sosheevenath shrinelution (northern peak shrine)
In order to move the orbs into the sockets for SheeVenath, you need to go from top to bottom is the gate and the observation platform):
- 2
- 4
- 1
- 3
- 5